Me and a few of my friends (StungaLab) decided to create this animation from last year and I’m responsible for all Unity things – setup / shaders / tools / plug-ins etc. I didn’t help a lot as I have my full-time job in UK so most of the work are actually done by the 2 amazing 3D artists Felix Yin-Zhen Chu and Shadow Chi-Ho Wong, also 2D part by Carol Tsz-Ching Ng. It is the first time for us all to put ourselves into such a big production — target at high quality, massive amounts of assets, and short time-frame, (esp. ) lack of knowledge of using Unity (they are almost the first time Unity user). The final animation really surprised me.
I only have mobile game development experience in the past so there was no way for me to grab so many plug-ins and use so many expensive graphics features in any projects. So I had no idea how to correctly set things up for a project like this. Glad that I work in Unity and the knowledge I gained supported me a good start.
Note: Not everything shown in this blog are being used. But they are the stuff I worked on so I hope to keep them here as a log.
Setup

– From Unity 2017.1 to Unity 2017.3 (Free Personal)
– Deferred pipeline
– DX11 only
– Linear color space
– In Quality / Graphics / Player settings
we enabled the features to make sure we get highest rendering quality
– Git, Bitbucket, Sourcetree for source control
Preview
Here shows the breakdown of visual components in a shot :

Most of the time were spent on design – 3D modeling – texturing – import and integration in Unity – lighting – post-processing settings, and of course, animation. Again, the 3D by the artists are incredible. Just the default standard shader is good enough to create a scene like this.
And some of our old screenshots :


Environment
Tessellation on rail track ballast
The track ballast details are generated with a modified Standard Shader — added distance-based tessellation support to it. Normals are recalculated with the height map.
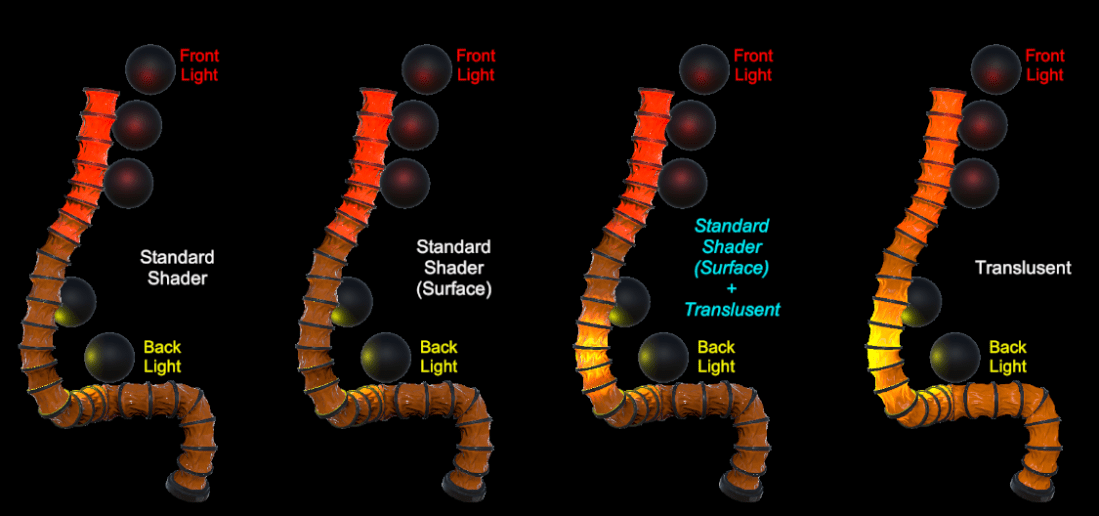
Translucent tube
Unity’s default standard shader doesn’t support translucent, and using third party’s translucent shader won’t match the PBR lighting. So again, I have to create another modified standard shader for the translucent effect.

Black mask
The track has ending. When camera is close enough to the end we will see the “sharp-cut” of the props.

I made a black blocker shader which fades according to distance and blending with other props smoothly (using soft particle shader approach).
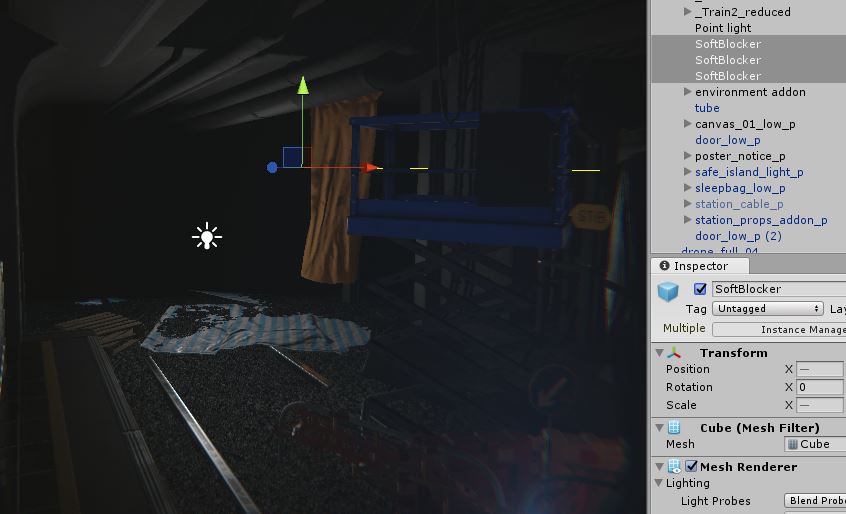
So we can fake the endless darkness…
Character shaders
Robot’s eye
I used the new Unity 2017.1 feature called Custom Render Texture which we can modify a part of texture with shader very easily. The main point is, I don’t have to make another modified standard shader for the robot eye animation.

The animation is done with a script which allows the animation editor to control the attributes on the custom render texture shader / material.
This approach can also work on transition between 2 textures :

Girl’s hair Anisotropic highlight
Hair’s shading is different with other objects. So, one more modified Standard Shader is created with addition of anisotropic lighting highlight.


Effects
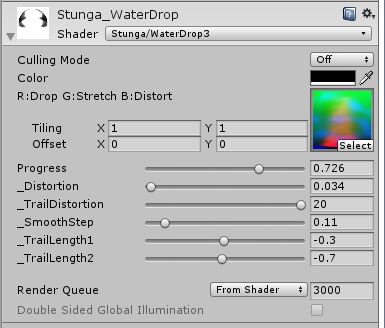
Water Drop
We were suppose to make a water drop and put it on one of the tents. Too lazy to render sprites so I just created a shader which only needs 1 texture to do the whole thing.

Radial zoom blur
A really fake one. Grab pass in shader and sample the texture based on screen positions and loop for about 16 times to do the blur.


Monitor glitches
Separated RGB channel in shader to be the monitor-pixel effect for close-ups.
 Distort and flicker in shader. Just some scroll + invert color + UV distortion.
Again, this is also applied on custom render texture and applied to the screen object material. Artists just have to animate these properties.
Depth transition
A custom post-processing effect for doing transition between 2 styles. It uses the _CameraDepthTexture in shader.

Added some distortion effects to the depth UV as well as the camera texture UVs
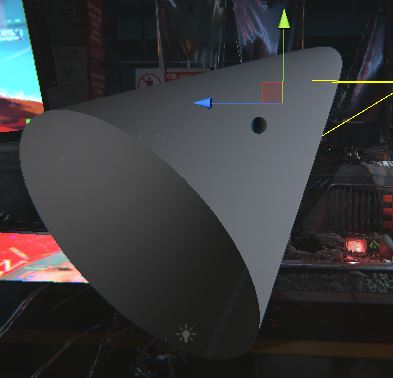
Fake volumetric spotlight halo
Since volumetric lighting rendering is too expensive so we can fake it like this. The shader is just a rim shader which fades from “inside” to “outside”
Utilities
Physics Object Dropping
I created a tool for dropping objects with physics so that we don’t have to place little stones one by one manually.
Random object placing / projection
Another mode of the tool which project random objects according to the surfaces.

More control for scale, rotation, preview of next random object.


Game controller
Our project is made in Unity, so why not make a game controller to wonder the beautiful scene?

Plug-ins
I used a lot of plug-ins because they are just great.
Unity – Post-processing Stack V2
The great thing for V2 is that it allows blending between 2 post-processing volumes.

Unity – Recorder
This is the tool we used to output the frames for the animation video.

Unity – Standard Particle Shader (built-in now)
Unity – Timeline & Cinemachine (built-in now)

FBX exporter
Volumetric Lighting
Unity – Deferred Decal
Challenges
The greatest challenge :
- Source control with artists and between artists. Fixing their merge conflicts, sort out their pulling-commit-pushing orders…
- Create tools that they are willing to use. I have been complained for a several times about being too technical.
- Lack of knowledge. Modifying standard shader struggled me a lot and especially those have to change the lighting models.
- UK-HK remote work. It’s so hard to work remotely + the huge time difference. Artists solved quite a lot of technical problems while I was sleeping.😂
Besides the items in above sections, there were actually a lot of other stuff were made to backup different little things… modified blood decals, particle effects, shear effects on character shaders, cat sprite outline extraction, lighting studies, fur, render target debug viewers, script to clear motion vector between shots … etc.


The stuff I did was obviously not good enough. But this was a great opportunity to get my hands on high quality graphics project. Hope you all like the animation!
Visit here for more beautiful rendering. 🙂

Maybe try motion capture…
LikeLike